Give your rose bushes a natural and organic hug in the form of a winter blanket!
Here we are in February! Many yards and gardens appear to be sleeping in the cold winter air. What can be done for those shivering bare sticks that used to be covered in lush leaves and blooming roses? While gardening may not be the first thing that comes to mind in the thick of winter, this is the time to set your roses up for blooming success this spring.
To help your roses jump into spring with the best chance of glorious blooms, the idea is to protect the soil during the winter, then to help the soil bounce back to life as early as possible. Much of the life in soil lies dormant in the winter. You can increase the thriving activity in the root zone with these following tips and tricks – naturally and organically.
As with most gardening, planning ahead is the best way to ensure the future of thriving plants. But don’t worry – even if you didn’t do a lot of work in the fall to put your roses to bed, there are steps to take now, with spring just around the corner, to refresh and waken your sleeping beauties.
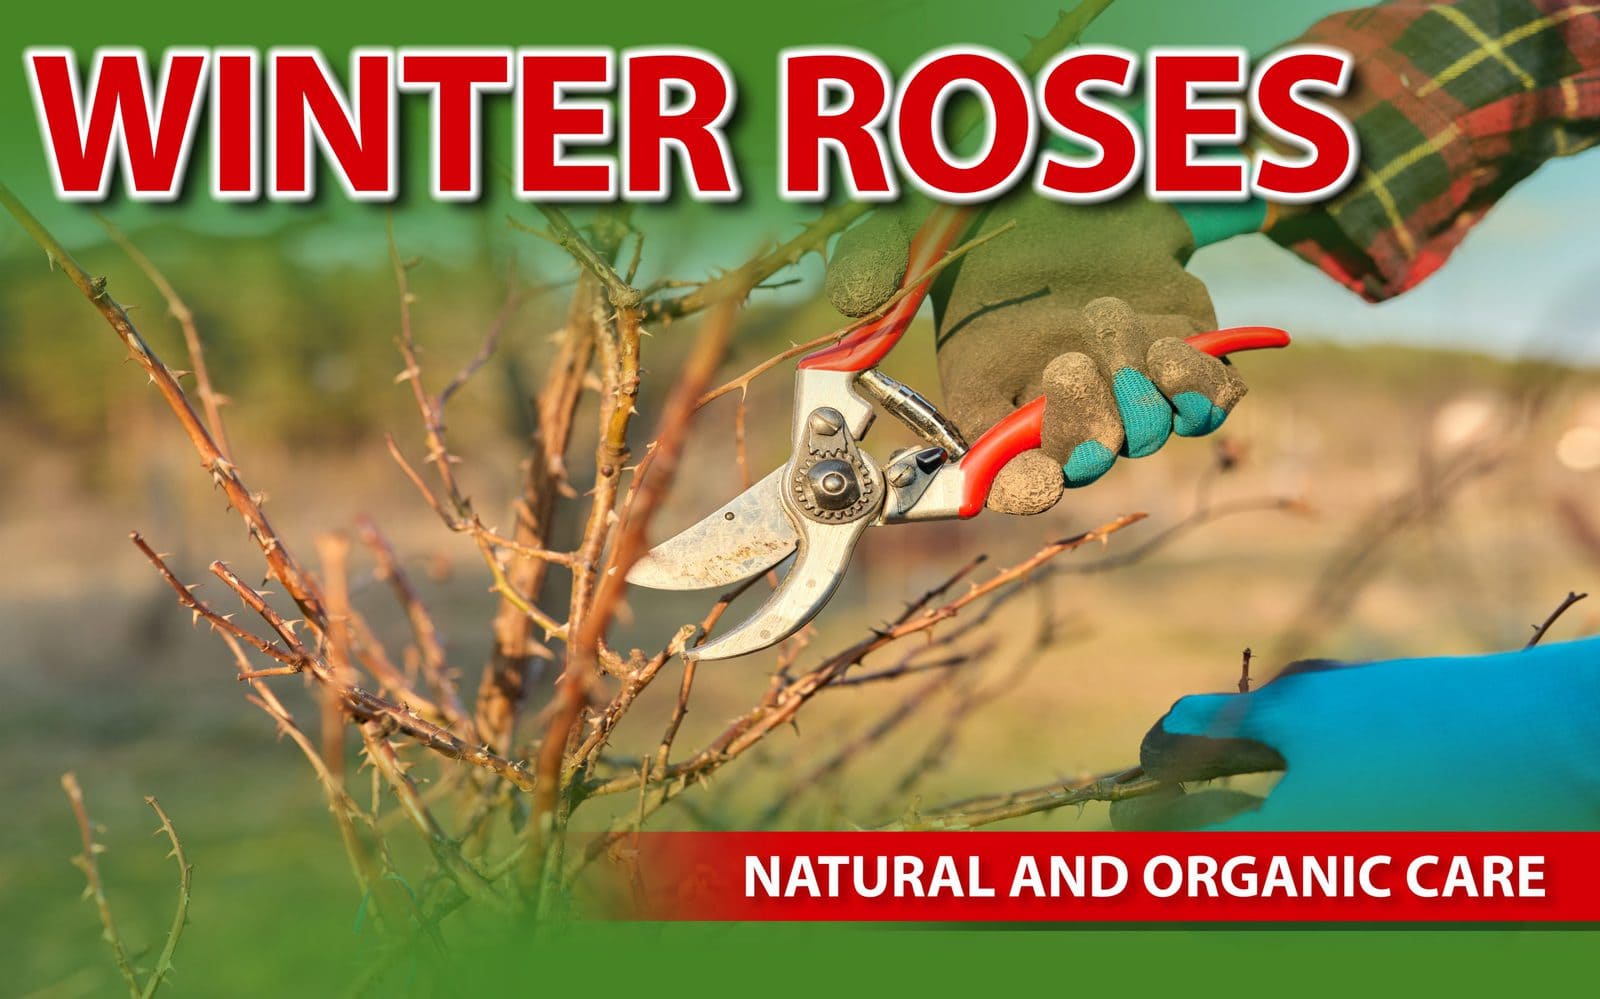
Cutting Back and Pruning

A good rule for tea roses, for example, is to cut less in the fall and more heavily in the spring. So February can be a good time for this step. Pruning helps to ensure that blooms will appear throughout the structure of the rose bush, instead of up high on a long branch.
When pruning your rose bushes, cut away any diseased leaves or spindly tiny canes – leave three to five major canes, each about 18-24” high, that form a cup-like shape. Roses bloom best when air circulation is maximized and spindly cross branches are removed. At the base, cut just above any outward facing buds to encourage the broadening growth. Remove any branches that grow inward to maintain this cup-like structure.
Cutting the stems triggers the release of hormones, spurring new growth to replace the missing canes. The roots will begin to grow and make food, combining with the stored food in the canes. Soon the nutrients you’ve added to the soil begin to travel through the branches to the new stems and leaves. Growth buds begin to appear. The rose is doing its own work now – you won’t need to fertilize until mid-March. Much of the new growth will be reddish or purple in color at first. As they start making chlorophyll, you will see the leaves start to turn green. That’s when you will know that your rose is hungry and ready to take in more nutrients.
Rose Cocktail
Ric Dykseul, a legendary landscape designer with more than 50 years of experience in Southern California, uses a time-honored recipe to wake the sleeping beauties. This “rose cocktail” from the Southern California Rose Society has been around for years. While they have made some changes to it, Ric still swears by the original. The magic ingredients are:
- Granulated gypsum
- Iron chelate (pronounced “key-late”)
- Soil sulfur
- Epsom salts
First, Ric recommends combining 1 cup each of the iron, sulfur and salts into a bucket. Then for each rose bush, combine 3 tablespoons of that mixture with 1 cup of granulated gypsum. Since the gypsum is bulky and a little hard to mix, taking time to pre-mix the other three ingredients helps to blend it in evenly.
Dykseul then suggests working the rose cocktail into the soil, making sure the nutrients spread all the way out to the drip line of your rose bush.
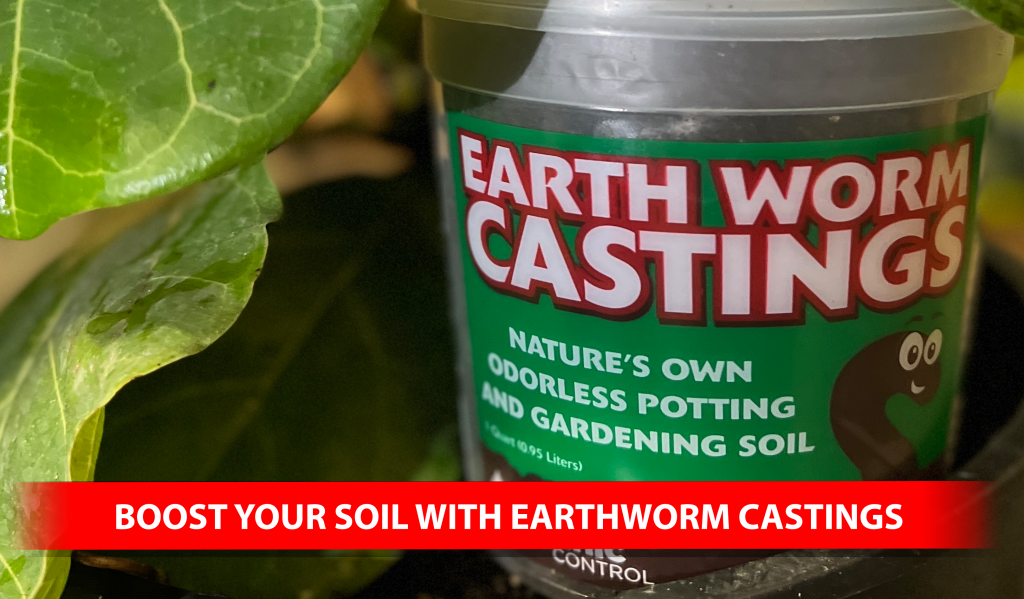
Worm Castings
The frosting on the cake for optimum rose health is earthworm castings. Worm castings (a more polite word for “worm poop”) contain microscopic creatures that among many talents, convert magnesium into a solution that allows the plant to absorb it. Worm castings are the ideal super-food source for your rose to feed on. Click here for more information on worm castings.
Don’t Forget to Water
Many gardeners associate winter with an abundance of water reaching the root zone. This is a myth! Don’t fall for believing that snow is watering your sleeping winter rose bush. Since the rose needs about 5 – 7 gallons of water a week (that is about an inch of rain), you will probably have to continue watering if the rain doesn’t do the job.
Mulch, Mulch, Mulch
After working in the rose cocktail and worm castings, cover it all with a generous layer of Gromulch. Gromulch is a fan favorite because of its coarse texture that combines with finely composted organic ingredients. This nutritious mulch blanket helps to protect the soil and roots from the harmful effects of cold and frost. It warms the soil and prepares it to receive the nutrients that the dormant rose bush is seeking. Kellogg’s Gromulch should be a regular staple in every rose lover’s arsenal.
The Early Gardeners Get the Worms
The Rosarians’ Recipe or best kept secret is to introduce Earthworms to the rose garden early in spring. Worms help to carry nutrients (such as calcium and magnesium) from the top of the soil, downward into the root zone.
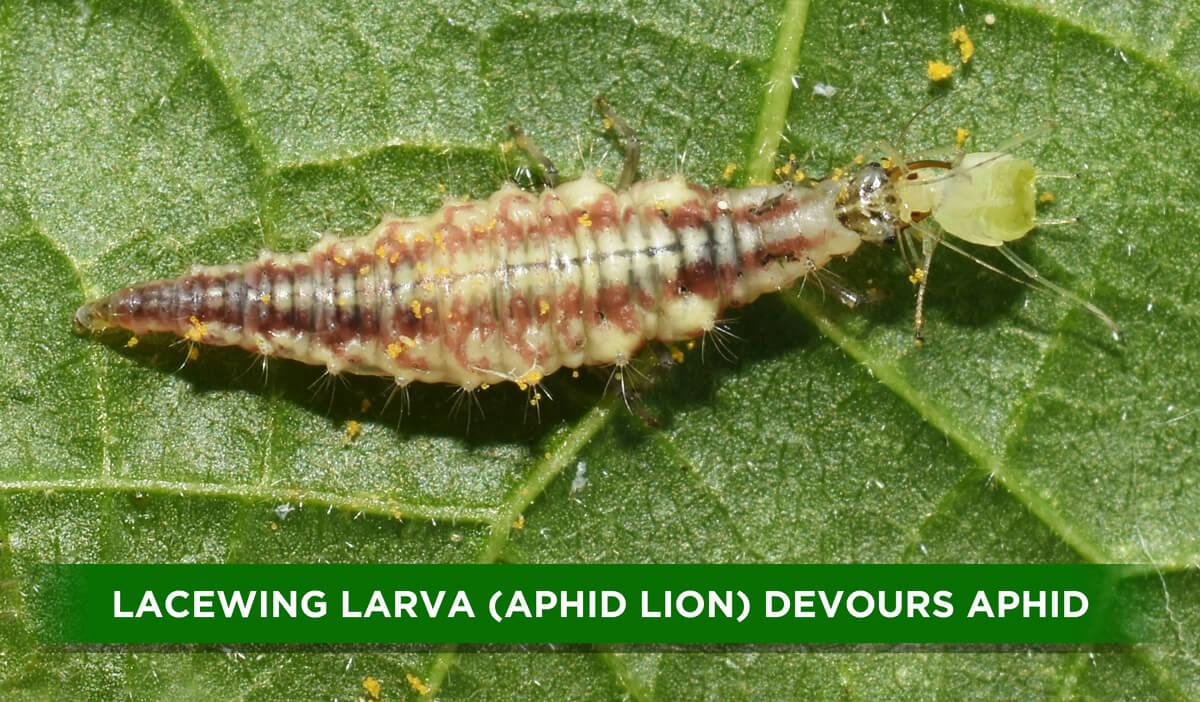
Ladybugs/Lacewings
Once your plants have awakened, the soft new growth will attract the attention of their next enemy: aphids. While aphids seem to appear out of nowhere, chances are they’ve been there already, transported to your rosebush long ago. Although they’re exceedingly tiny flying creatures, they gather on rose buds or new growth, and they transfer viruses from plant to plant.

How do you kill aphids on roses? Aphids may attack roses so early that they may not yet be visible to the eye. The Ladybug/Lacewing Power Pack effectively controls aphids with a one-two punch. Deploy the Ladybugs in small batches each evening. They will find microscopic aphid babies and deter a full blown infestation. Then, your Lacewing eggs will hatch as the weather warms. Lacewings are the “Zamboni” of stem cleaning! The lacewing larvae clear a protective path to protect stems and new growth from being destroyed by aphids.
It’s reassuring that Mother Nature takes care of herself with natural enemies to control harmful pests. Your watchful eye and careful deployment of these Guardians of the Garden help you to partner with Nature as she brings life back to your garden – naturally!
Read more at Gardening Know How: Epsom Salt Rose Fertilizer: Should You Use Epsom Salt For Rose Bushes